Mastering the Art of Taking Time Lapse Photos

In the ever-evolving world of photography, taking time lapse photos stands out as a captivating technique that showcases the transition through time in a visual format. This method allows photographers to condense hours, days, or even years of an event into just a few moments of stunning visual art. Capturing the essence of motion, change, and life in a single shot or sequence can transform ordinary scenes into breathtaking narratives. In this article, we explore everything you need to know about mastering this intricate art form.
What is Time Lapse Photography?
Time lapse photography refers to the process of capturing a series of images at set intervals over a period of time. When played back at normal speed, the sequence of images appears to be moving much faster than it was originally captured. This effect unveils the invisible motion of slow events, effectively compressing time and providing a unique perspective on the subject being filmed.
The Basics of Taking Time Lapse Photos
- Equipment Needed: A camera capable of taking high-resolution photos, a sturdy tripod, intervalometer or time lapse feature on your camera, and editing software.
- Selecting Your Subject: Excellent subjects include landscapes, cityscapes, plant growth, construction projects, and celestial movements.
- Lighting and Timing: Proper lighting is crucial. The time of day can significantly impact the aesthetic of your time lapse photo. Golden hours, during sunrise and sunset, are ideal.
Step-by-Step Guide to Taking Time Lapse Photos
Step 1: Choose the Right Location
Your first step is selecting the right location. Look for scenes that showcase natural and dynamic changes. Here are some suggestions:
- Beautiful landscapes that change with weather patterns.
- Busy urban areas where you can capture the hustle and bustle of daily life.
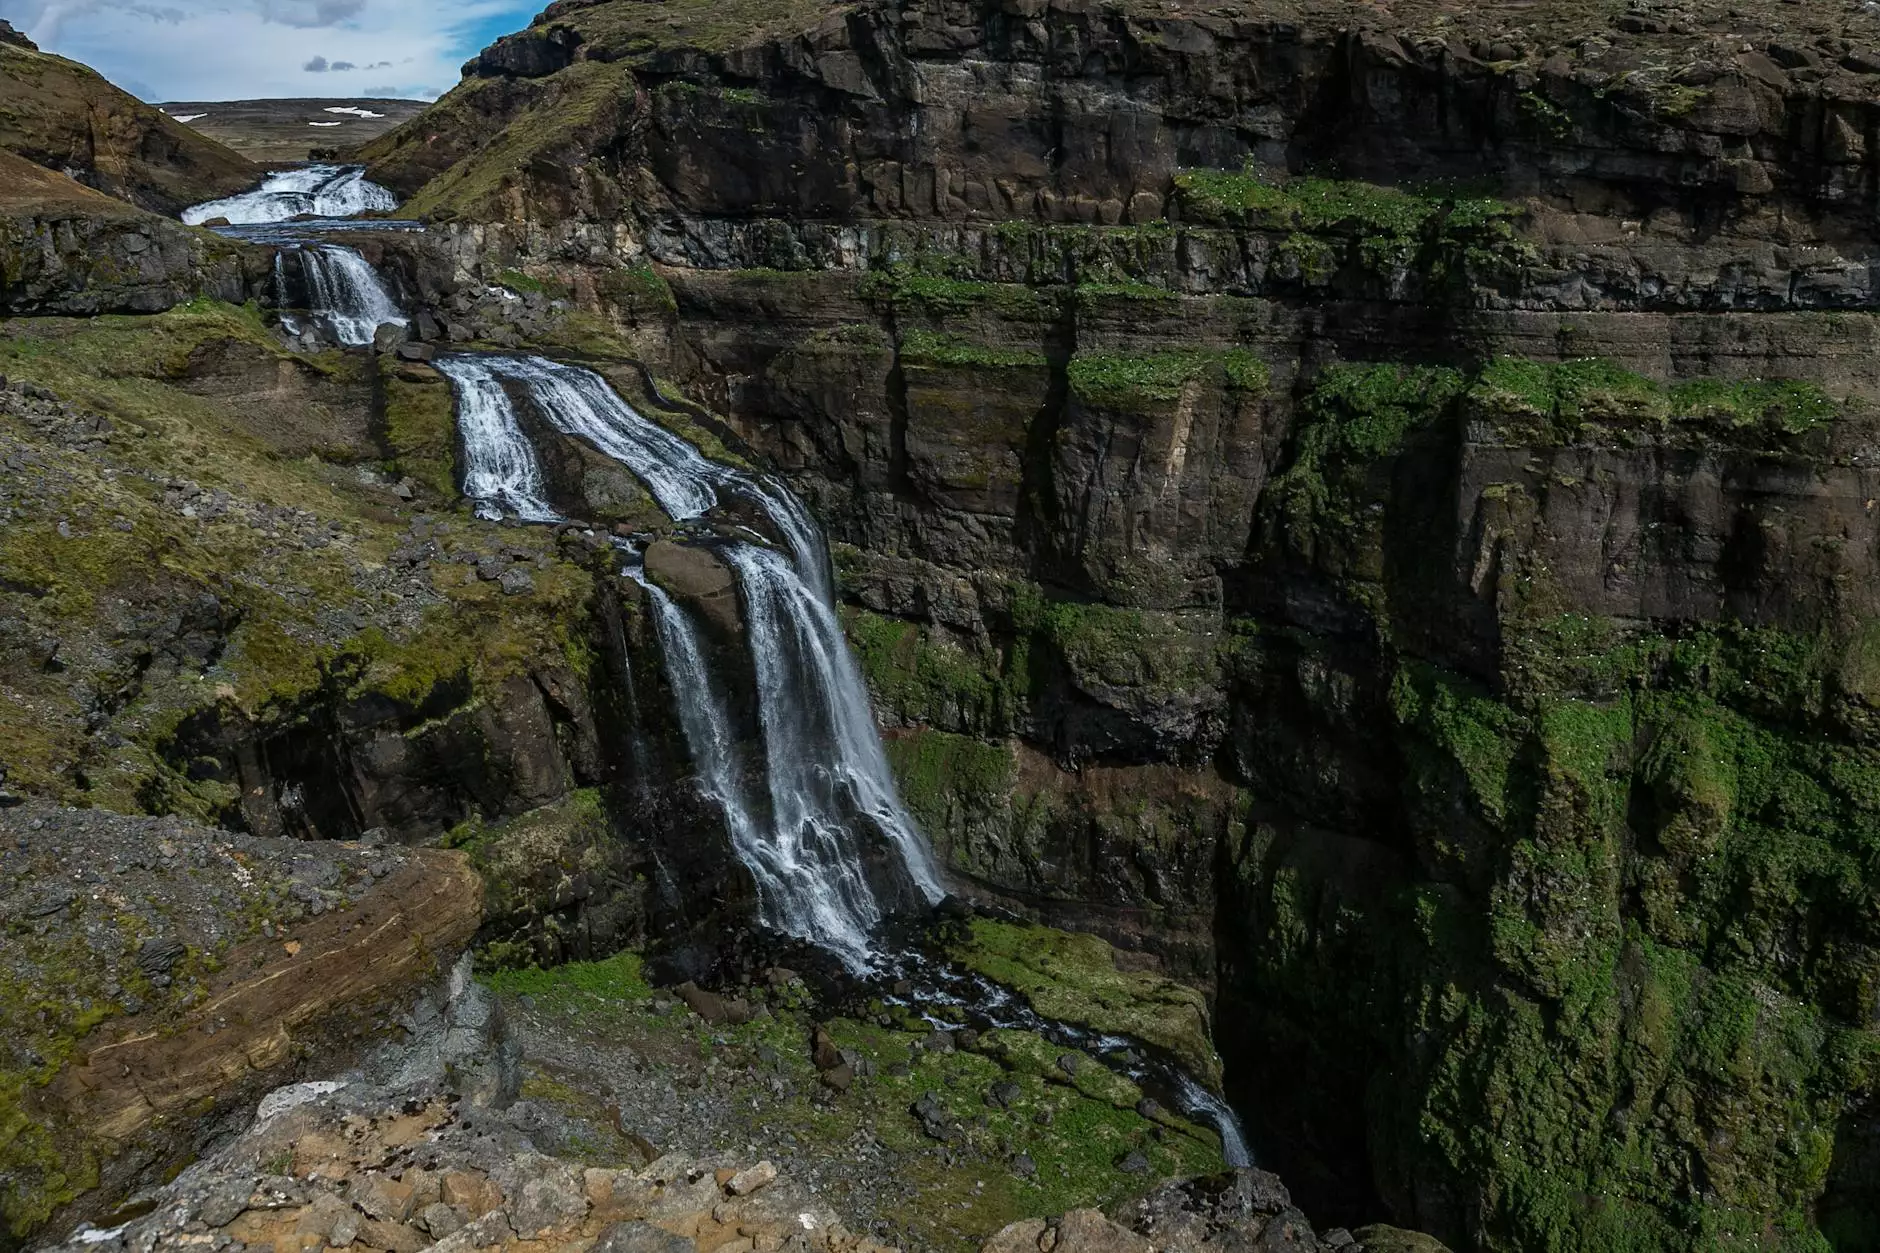
- Fascinating natural phenomena like blooming flowers or moving clouds.
Step 2: Setting Up Your Equipment
Setup is critical to ensure the stability and quality of your shots. Follow these steps:
- Use a stable tripod to prevent any movement during the photography session.
- Attach your camera securely, ensuring that it is level and pointed towards the main subject.
- Consider using a remote shutter or an intervalometer to trigger the shutter and avoid camera shake.
Step 3: Camera Settings
Your camera settings will largely influence the outcome of your time lapse photos. Pay attention to:
- Frame Rate: Decide how many frames per second (fps) you want to capture. Common rates are 24, 30, or even 60 fps.
- Exposure Settings: Use manual settings for consistent exposure. Adjust ISO, aperture, and shutter speed to adapt to changing light conditions.
- White Balance: Set your white balance manually to avoid color shifts throughout the shooting process.
Understanding Different Techniques in Time Lapse Photography
There are various techniques you can adopt when taking time lapse photos. Each technique can bring a different feel to your project:
1. Classic Time Lapse
This straightforward method involves taking a series of photos at regular intervals. This is the foundation of time lapse photography and is best for subjects that change slowly, such as sunsets or blooming flowers.
2. Hyperlapse
Hyperlapse is an exciting variation where the camera is moved significantly between shots, creating a dynamic and engaging visual journey. This method is fantastic for cityscapes, showing bustling streets or people moving quickly.
3. Motion Time Lapse
This technique integrates both time lapse photography and camera movement. By using sliders or drones, you can incorporate smooth panning or tracking shots that enhance the storytelling aspect of your visuals.
4. Star Trails
Star trails capture the motion of stars over prolonged periods. By using long exposures and taking periodic shots of the night sky, you can create stunning effects of star movements across the frame.
Post-Processing Your Time Lapse Photos
Once you’ve captured your images, editing them is essential for creating a polished final product. Post-processing can include:
- Color Grading: Adjust the colors for mood enhancement.
- Stabilization: Smooth out any jitter caused by camera movement.
- Editing Software: Utilize software such as Adobe Lightroom or Premiere Pro to combine your images seamlessly.
Common Mistakes to Avoid
To become proficient in taking time lapse photos, it’s crucial to avoid common pitfalls:
- Not considering changing light conditions; always check the weather!
- Using too fast an interval can lead to choppy footage.
- Neglecting to secure your camera properly can result in shaky images.
- Forgetting to account for battery life; long sessions can drain your camera's power.
Inspiration from the Pros
To further fuel your creativity, studying the work of renowned time lapse photographers can be illuminating. Here are a few noteworthy artists and their groundbreaking time lapse projects:
- Louie Schwartzberg: Known for his captivating nature time lapse films that vividly showcase ecological changes.
- Harun Mehmedinovic: His work features breathtaking star trails and night skies that reflect his unique vision.
- Tom Lowe: Famed for his series “TimeScapes,” showcasing stunning landscapes with poetic narration.
Conclusion
Mastering the art of taking time lapse photos opens up a world of creative possibilities in photography. From capturing the beauty of nature to unveiling the rush of urban life, time lapse offers an unmatched way to tell stories through visuals. Equipped with the right techniques, equipment, and inspiration, you too can create compelling time lapse sequences that resonate with viewers and leave a lasting impact. Don't hesitate to experiment, embrace your creativity, and most importantly, enjoy the process of capturing moments in time!


